Getting started with Postman
Welcome you all to the brand new ‘API Testing’ blog series! In the previous blog, we had learned about the basics of REST API architectural elements. In this tutorial, we will start with Postman!! So let us begin!!!
2. What you will Learn in this blog?
- Why do we use Postman?
- Setup Postman on our local machine
- Launch Postman
- Create account on Postman (local workspace)
- Create new workspace
3. Why do we use Postman?
In a typical software testing of a website, we start with writing the manual test cases and then execute these test cases manually. Later we automate and execute them as part of automation regression suite.
Same thing is applicable for API testing as well. We use Postman tool to execute API test cases manually. Later we automate the test cases using Rest Assured + Java. Postman makes it very easy to execute the API test cases manually.
As a best practice, we should not directly code our test cases. Instead, we should first execute the API test cases manually using Postman. Once we have stable manual test cases with test data, we should then automate the API test cases using Rest Assured. The below diagram is self-explanatory

4. Setup Postman on our local machine
To setup Postman, launch https://www.postman.com/downloads/
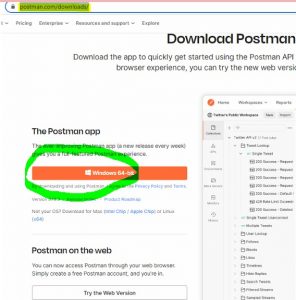
Download Windows 64-bit version exe file (if you have mac machine, mac OS link will automatically be seen in the above page)

Do not try the web version since it has less features as compared to windows OS file.
Install the above setup file to complete the postman app installation on your local machine.
5. Launch Postman
After the installation, let us launch the Postman app. The below default window should come up
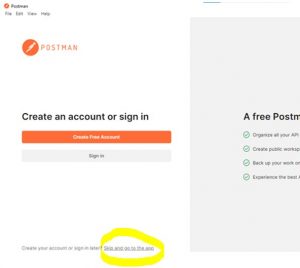
Let us skip the postman app account creation as of now. Click ‘Skip and go to the app’ link, the default UI would come up as shown below
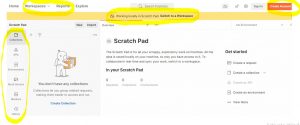
On the left hand side, under Scratch Pad, we can see Collections, APIs, Environments etc.
In the top menu, click Workspaces, the below pop-up would come up
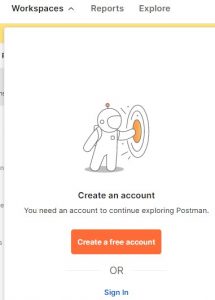
Right now, we do not have any workspace since we have not yet created the postman account.
See below diagram. In the middle section, we can see that postman is recommending us to switch to a workspace. The reason being, we are currently working on the local app and we have not yet created the postman account

It is always better to create a postman account (local workspace). This way, postman will automatically backup our data. So let us create postman account in next section.
6. Create account on Postman (local workspace)
Click ‘Create Account’ (as shown in above diagram). Notice the message that is shown in postman app. It is asking us to create account via web browser

The browser is launched automatically as shown below
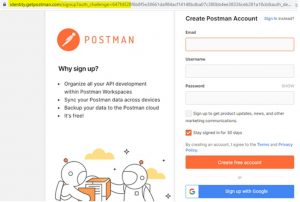
You can either create a free account or sign in using your google account.
Let us sign in using google account, the below popup would be shown
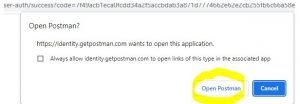
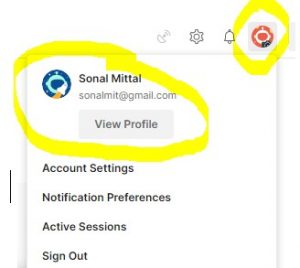
Click ‘Open Postman’ to switch back to Desktop Postman app. Notice below that we can see the account through which we logged in
7. Create new workspace
Let us create a new workspace by clicking ‘Create Workspace’
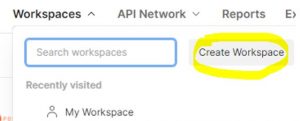
Enter desired worspace ‘Name’, select ‘Personal’ under Visibility and create a workpsace

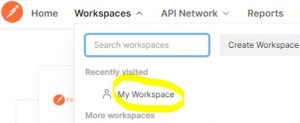
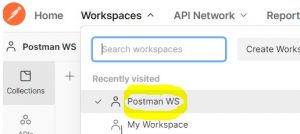
Notice below that new workspace got created
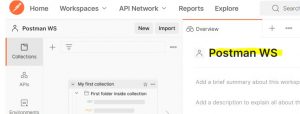
In the next blog, we will see how to hit and execute API requests using postman.
Thank you for reading!
