Hitting API GET Requests with Postman
Welcome you all to the brand new ‘API Testing’ blog series! In the previous blog, we had learnt how to setup Postman. In this tutorial, we will learn how to hit a GET request using Postman!! So let us begin!!!
1. What you will Learn in this blog ?
- Quick glance of workspace
- Hit GET request using Postman
- Brief understanding of response data output
- Brief understanding of Response Headers
- Brief understanding of Request Headers
- Send query parameter as part of GET request
- Add query parameter in the ‘Params’ section
- Remove query parameter from the ‘Params’ section
- History of Requests
- Save the API calls
- Create Collection of GET Requests
2. Quick glance of workspace
Let us open postman app and sign-in (in case you signed out in the previous blog). We can see the new workspace ‘Postman WS’ that we had created in our last blog

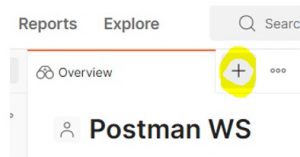
To create a new tab, click + icon as shown below
A new tab ‘Untitled GET Request’ gets created
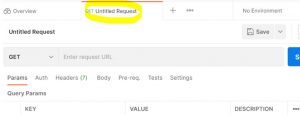
Also notice below that ‘GET’ is default method in the dropdown
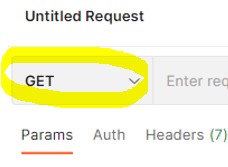
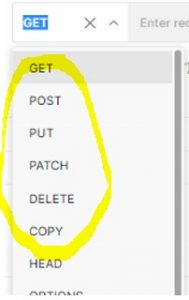
If you click this dropdown, you would see other HTTP methods as well (example, POST, DELETE etc)
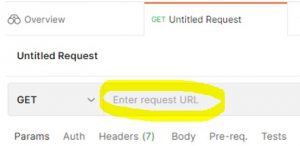
We use the address bar to enter the URI that we would like to hit
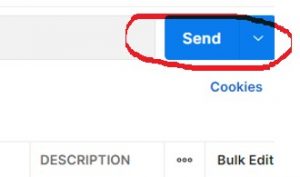
To submit the request, we have to click the ‘Send’ button
3. Hit GET request using Postman
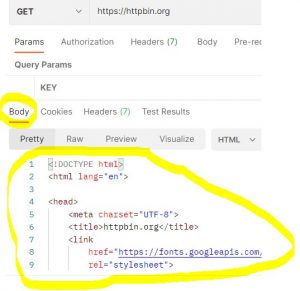
We will now see how to hit a GET request using Postman. Let us enter the URI https://httpbin.org in the request url field

Click Send button.
Notice below that we get the response data output (response body) from the server
4. Brief understanding of response data output
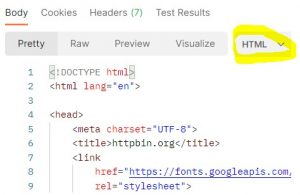
By default, response data is of type HTML as shown below
We can also see the status code 200 since the GET request is successfully processed by the server and the server was able to send us the response

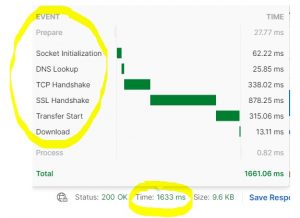
As seen below, we can also see the total processing time of the API request alongwith the categorization of the processing time (example, Socket initialization took 62.22 ms and so on)
Next, see below diagram. We can see the size of data which is being transferred as part of this request viz we can see the size of ‘Response’ body/headers. This is the resource size which server sends back as a response
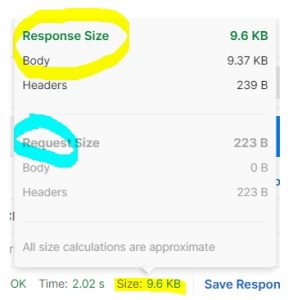
We can also see the size of ‘Request’ headers as can be seen above.
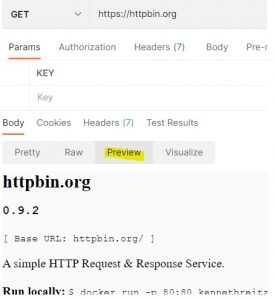
Click ‘Preview’. This tab shows the page preview as shown below
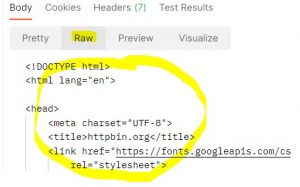
Click ‘Raw’. This section shows the data in raw format
We generally use ‘Pretty’ format as shown below
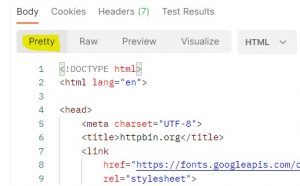
In the Pretty format, we can see the data in HTML, JSON, XML etc formats
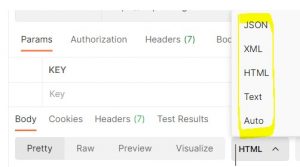
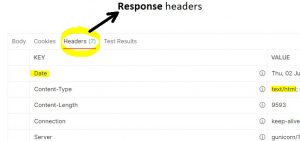
5. Brief understanding of Response Headers
The below diagram shows the ‘Headers’ of the response, example the ‘Date’ the request was created, content-type of the request which is text/html etc
6. Brief understanding of Request Headers
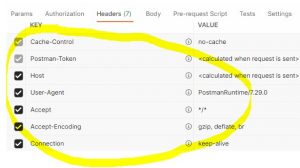
We know that some headers are automatically sent as part of request that we send to the server.
See below, we can see 7 hidden headers that are being sent as part of the GET request
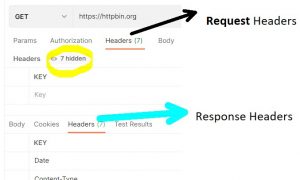
Let us click ‘7 hidden’ to see the request headers, example User-Agent etc
Let us copy the below URI

Open the browser and launch the above URI, see below
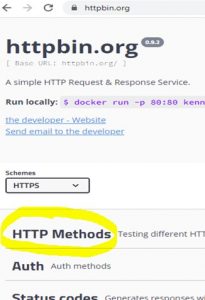
We can see ‘HTTP Methods’ section as seen above.
Let us click ‘HTTP Methods’. We can see various methods listed as can be seen below
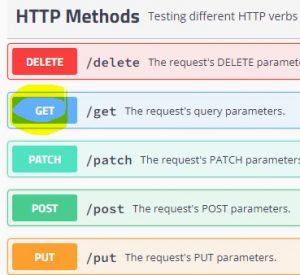
Let us click GET method and expand its description. Notice below that we see a /get method that we can use in our query
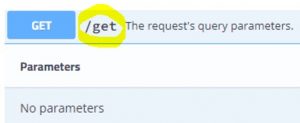
Let us go to the postman, open a new tab and append the /get method to our GET request

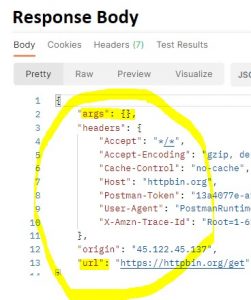
Click ‘Send’ to hit this request. The response of the GET request is as below. We can see arguments (which are currently zero), headers, url etc
7. Send query parameter as part of GET request
Let us now send some dummy query parameter as part of GET request. We have studied in previous blog that the query parameter starts with ?
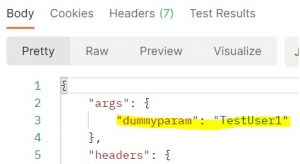
Let the append the dummy query parameter ?dummyparam=TestUser1

Hit Send. Notice below that we are getting the parameter as an argument in the response body
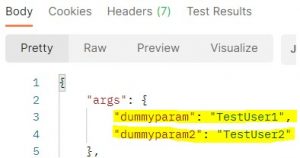
Let us append another query parameter as part of the request
Click Send. Notice now that we are getting both the parameters as an argument in the response body
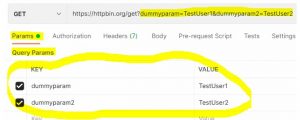
Also see below. Whatever query parameters we are sending as part of request, the same parameters get automatically created in the ‘Params’ section
8. Add query parameter in the ‘Params’ section
The vice versa is also true. Let us add the 3rd query parameter in the ‘Params’ section as shown below
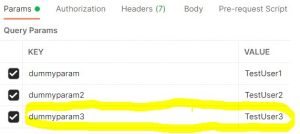
Notice that this 3rd query parameter gets automatically appended to the request URI
Hit Send and notice the expected output shown below
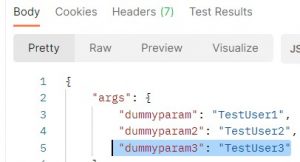
So this way, we can add the query parameters in the ‘Params’ section as well.
This way, we can test our API manually with different sets of query parameters.
9. Remove query parameter from the ‘Params’ section
We can easily remove the query parameters by de-selecting the checkbox in the ‘Params’ section.
Let us de-select dummyparam2
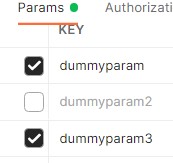
Notice that dummyparam2 gets automatically removed from the URI as well

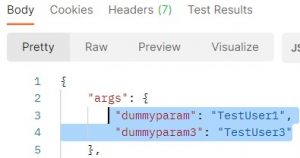
Click Send. Notice the response output. The dummyparam2 is not a part of arguments
10. History of Requests
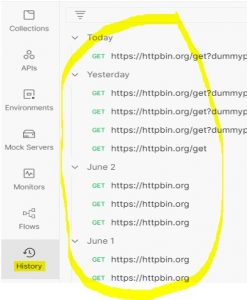
We can see all the requests that we have executed in the ‘History’ section, see below. We can execute any of these if we want to
11. Save the API calls
The red colored small circles means that the API request has not yet been saved

To save any request, we have to click the ‘Save’ button

So let us click ‘Save’.
The below window comes up showing the default ‘Request name’
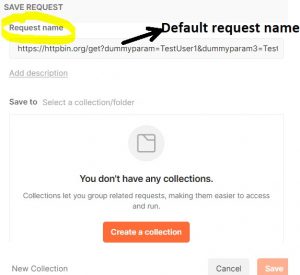
Let us write some meaningful ‘Request name’, example ‘GETRequestWithQueryParams’
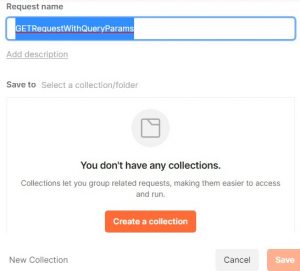
Notice above that the ‘Save’ button is still disabled. The reason being, this request is not yet part of any collection.
12. Create Collection of GET Requests
Click ‘Create a collection’ button seen in the above figure. The below window would come up
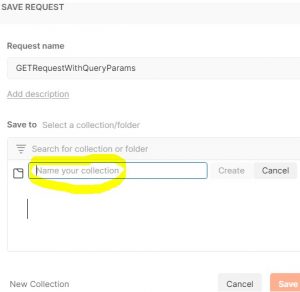
Enter some meaningful name in the ‘Name your collection’ text field
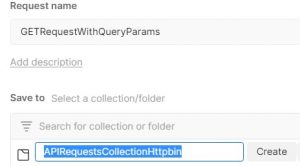
Click ‘Create’ button seen next to the collection name text field (see above figure). The below window would come up
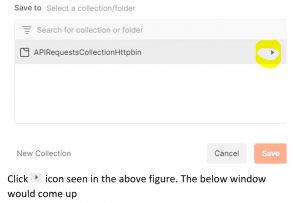
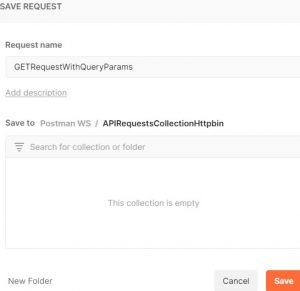
Now we can see that ‘Save’ button is enabled.
Click ‘Save’. Notice below that red circle is not seen and the request gets saved

We can see our collection in the ‘Collections’ section
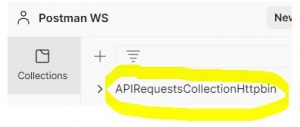
When we expand this collection, we can see our saved request(s)

Similarly let us save below request
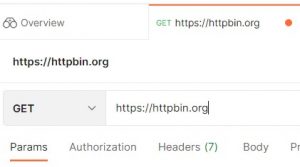
Let us give some name
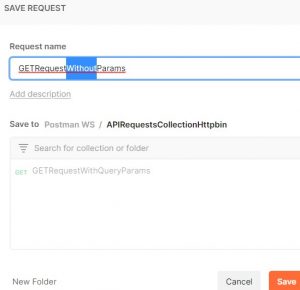
Save.
Notice below that we now have 2 requests saved in a single collection
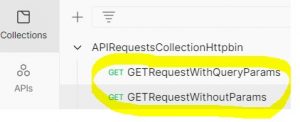
We can now click any of the above requests and hit the ‘Send’ button to execute the request.
Below shows execution of ‘GETRequestWithoutParams’ request
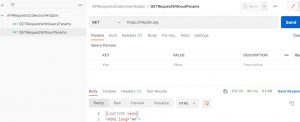
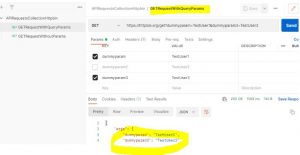
Below shows execution of ‘GETRequestWithQueryParams’ request
So this is how we execute the GET Requests in Postman. In the next blog, we will see how to work with POST requests. We will also see how to chain GET and POST requests.
Thank you for reading!
