What you will Learn in this blog:
- Install Java runtime environment on Windows
- Set Java home path in System variables
- Go to the command prompt to check if java is set properly
- Install Eclipse IDE
- Create new Maven project in eclipse
- Give knowledge of ‘Selenium’ maven dependency in pom xml
- Give knowledge of ‘WebdriverManager’ dependency to manage different browser types
- Write and execute Selenium test
Install Java runtime environment on Windows
First we have to setup Java runtime environment on our local system so that we can run selenium tests on this java base.
So let us google ‘jdk download’ as seen below

Click the first link that you see above

We should always download the ‘latest long-term support’ version, here JDK 21. You might see a different ‘latest long-term support’ version when you are about to download the JDK, so you should go ahead and download that version.
So as can be seen below, we have clicked JDK 21. We have further clicked ‘Windows’ tab

Click ‘x64 MSI Installer’ link to download the msi installer

To install JDK, double click the msi file and follow the instructions


Click ‘Next’ and click ‘Yes’ on the windows admin popup that you might get.
Notice below that JDK 21 is successfully installed

Click Close
Set Java home path in System variables
Next, we have to set the java home path inside ‘System variables’.
To do that, let us go to the path where ‘Java’ got installed in our local machine

Go inside this folder. This is the home path of our ‘Java’

Copy this ‘Java’ home path.
In the windows search bar, type ‘edit the’, you will see ‘Edit the system environment variables’ option as shown below

Click ‘Edit the system environment variables’. The below pop-up comes up

Click ‘Environment Variables’, the below window comes up

If JAVA_HOME system variable is already set in your machine, than simply edit this variable by clicking ‘Edit’. Paste the new java home path


Click OK.
You can now see the latest JDK path
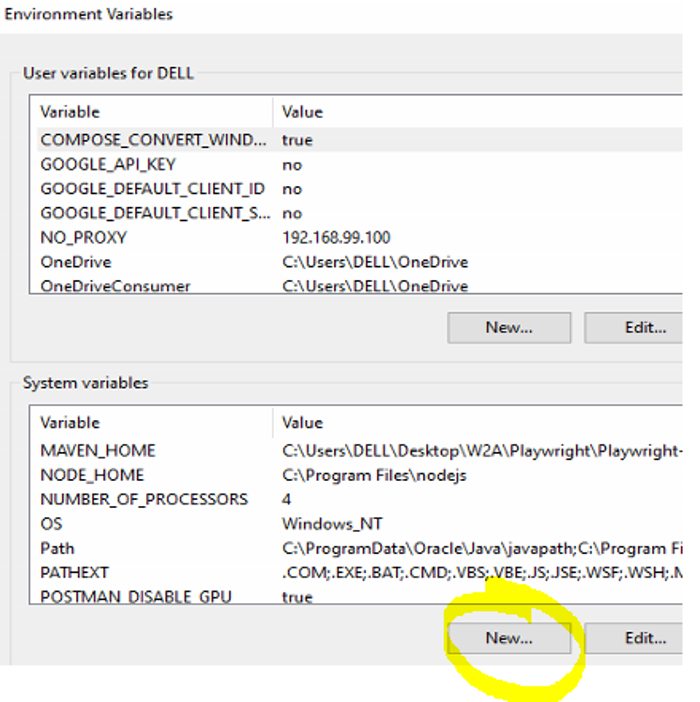
The below popup comes up.
Enter ‘variable name’ and ‘variable value’ as shown below

Click OK. The variable gets created

Next, you can see ‘bin’ folder inside jdk-21

Go inside the bin directory

Copy the above bin directory path.
Next, you can see ‘Path’ variable as shown below
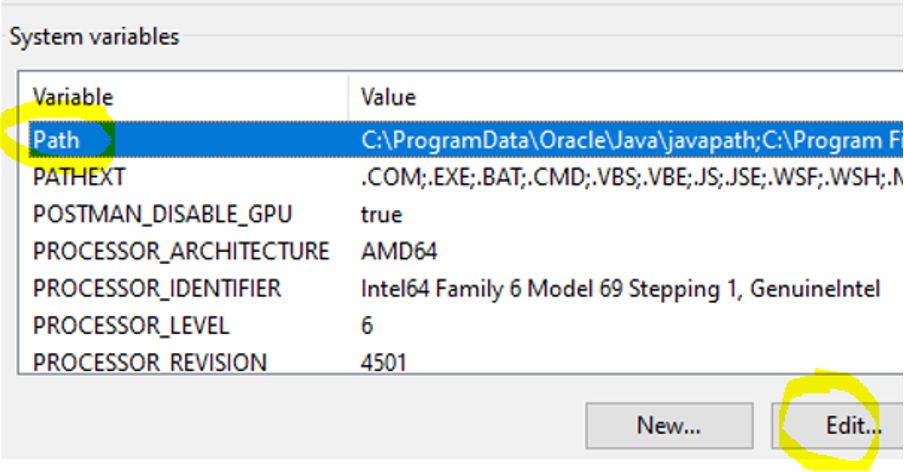
Click ‘Edit’, the below popup comes up.
Next, if you already have the ‘bin’ directory path (as shown below), than simply select it

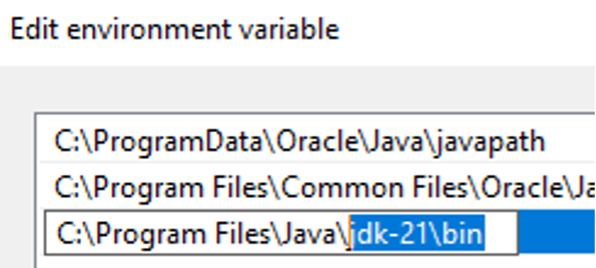
Click Edit and paste the ‘bin’ path as shown below
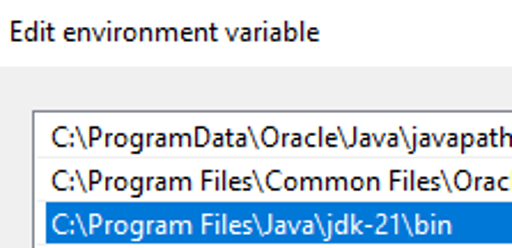
So we can see
If you don’t have the bin path, you can simply click ‘New’ to create one

Click OK to close all the windows.
The reason we have to set the jdk and bin path in environment variables is because, when you start working with eclipse editor, by default, it does not know the place where Java is sitting in your system. However, when we set the variables, the eclipse can than refer the path of Java software from system variables.
Go to the command prompt to check if java is set properly
Open the command prompt and execute ‘where java’ command as shown below. This would show you the path of java installation in your machine. Make sure you have java installed at only one location

Next, execute ‘java -version’ command. Notice below that we can see version 21 installed in our machine
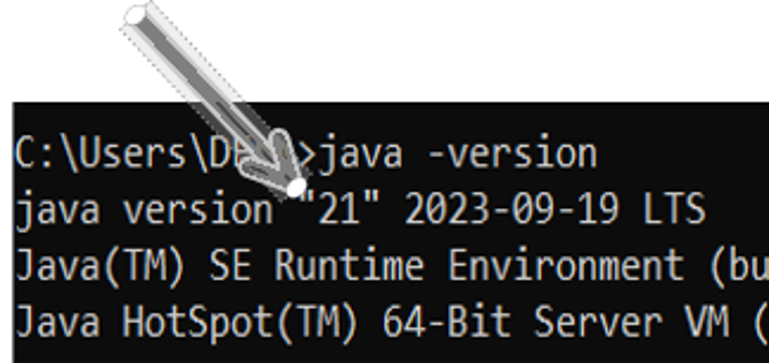
So this is way we setup java software in windows machine.
Install Eclipse IDE
Eclipse is the editor where we write our selenium code.
Google search ‘eclipse download’

Click the first link https://www.eclipse.org/downloads/
As can be seen below, we see ‘Download Packages’ link
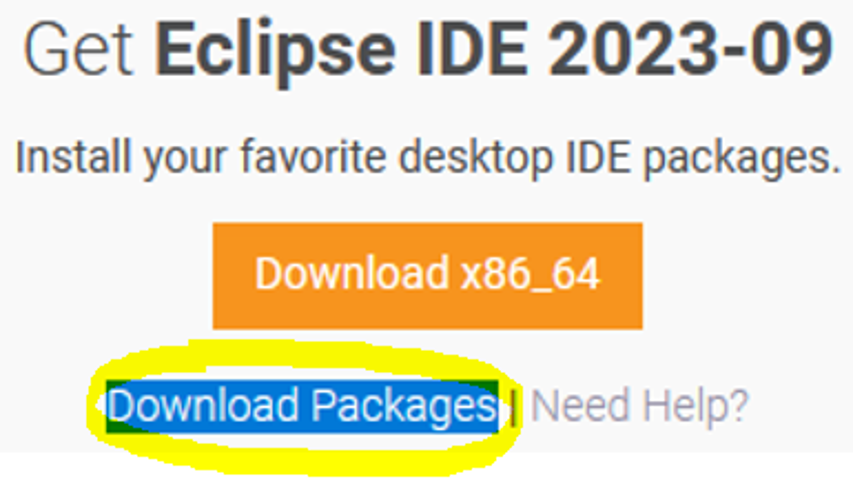
Click ‘Download Packages’ link. Look for ‘Eclipse IDE for Java Developers’ as shown below

For windows machine, click ‘Windows x86_64’ link (shown above) to download the windows version
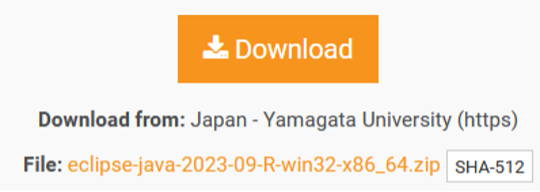
Click ‘Download’ to download the zip file

Unzip the version. One unzipped, go inside the folder, you would see ‘eclipse’ application launcher
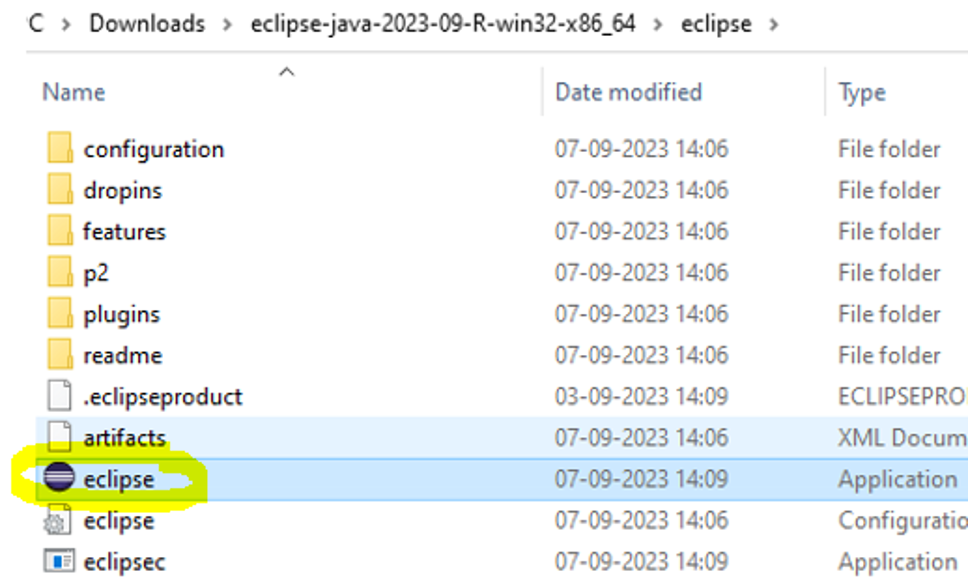
Double click ‘eclipse’ to launch the application

We will be asked to select the workspace viz the place we would like to create the selenium-java script folders.
By default, eclipse provides us a path as shown below
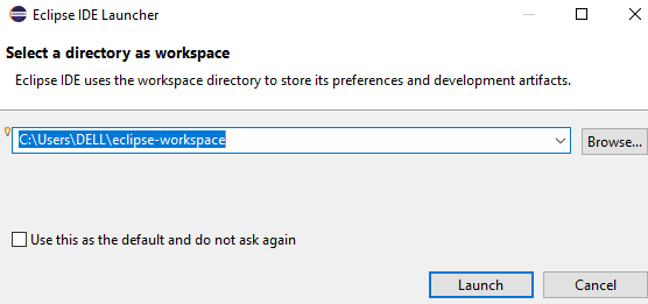
You can keep the default workspace or change the workspace name as shown below
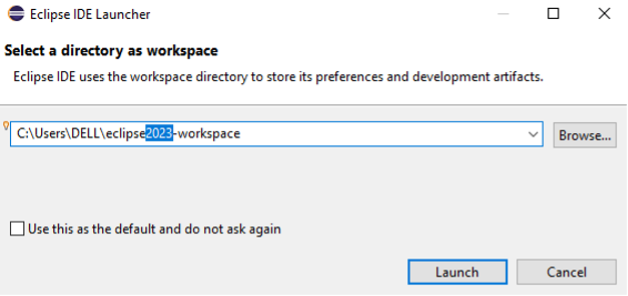
Click Launch

The below is the first look of the eclipse editor ‘Welcome screen’
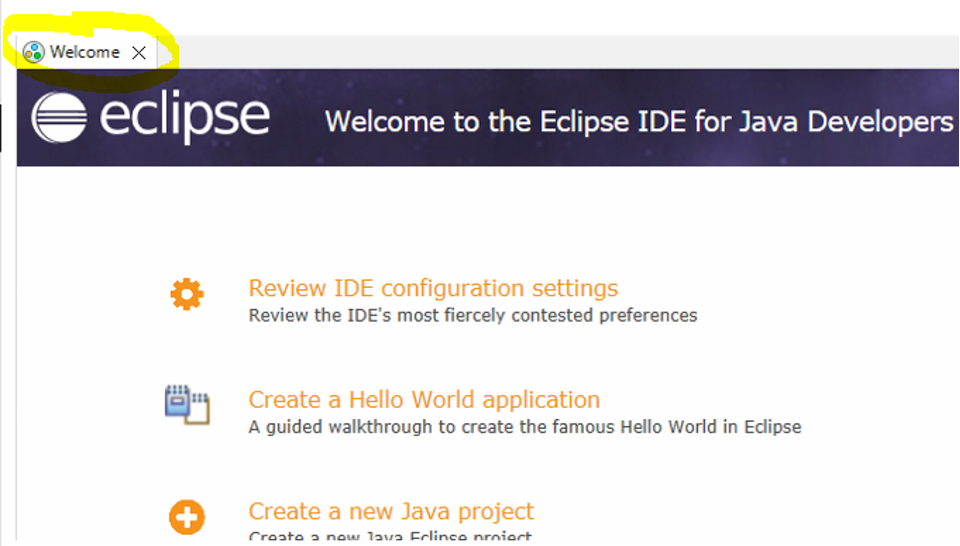
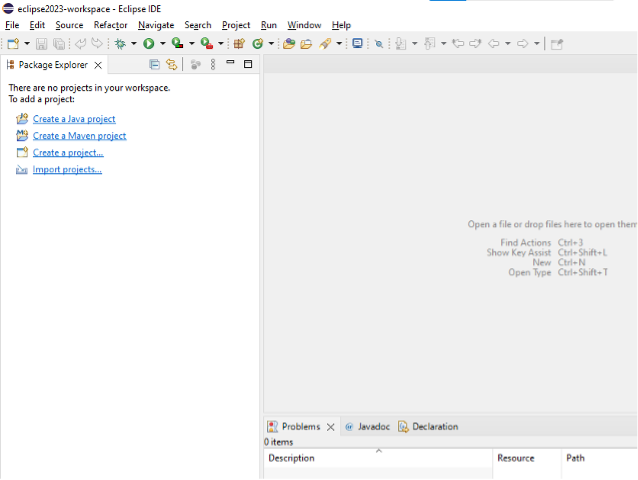
Close the ‘Welcome’ screen, you will land at below screen
Create new Maven project in eclipse
Let us now create a new ‘Maven’ project in eclipse.
Open Eclipse IDE > File > New > ‘Maven Project’
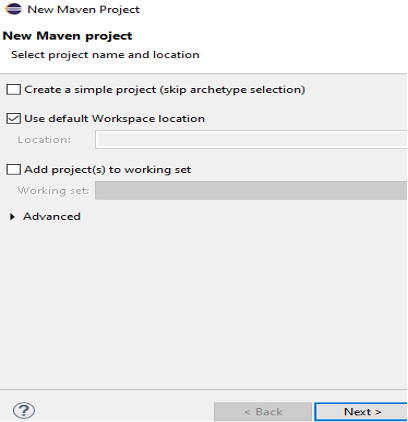
The below window comes up
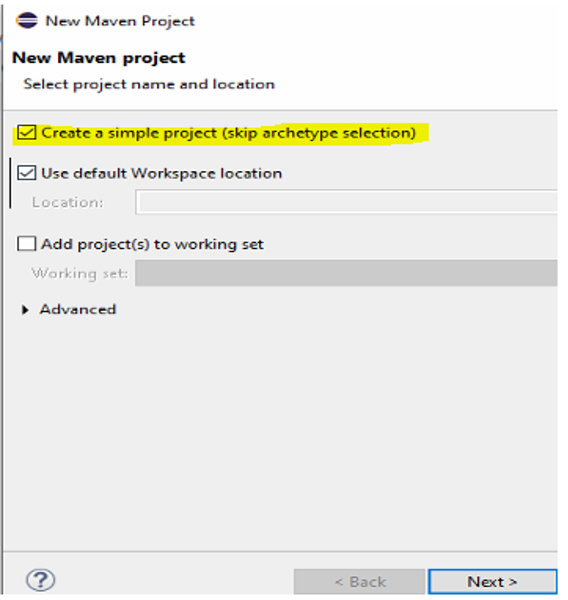
Select ‘Create a simple project’ option shown above
Click Next, the below popup comes up
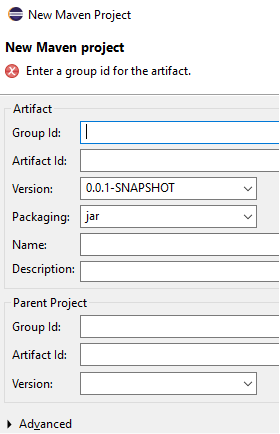
Write any ‘Group Id’ and ‘Artifact Id’
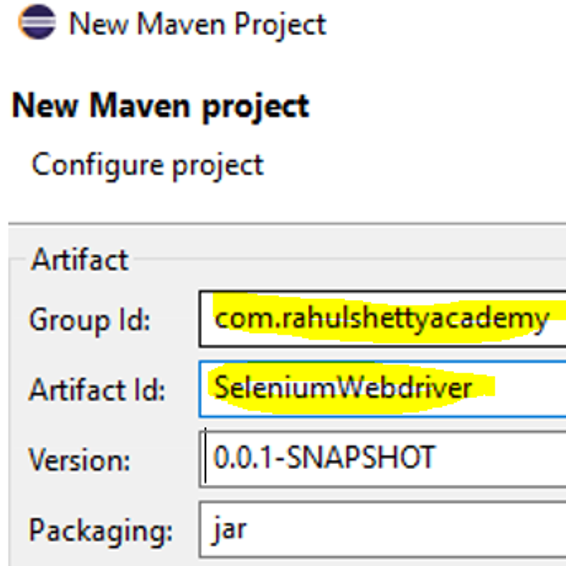
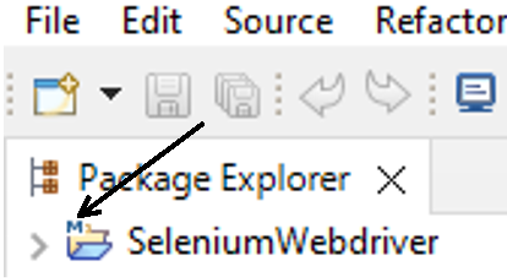
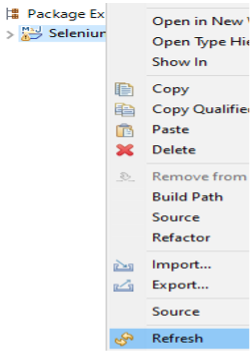
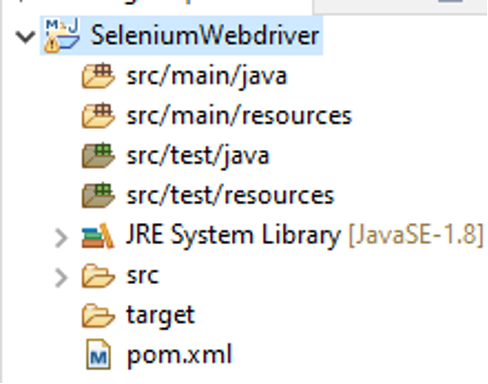
See below diagram, you can see ‘M’ that represents maven project
Give knowledge of ‘Selenium’ maven dependency in pom xml
Right now our project does not have any knowledge of Selenium. So let us see how to add selenium knowledge to our maven project so that we can run selenium scripts.
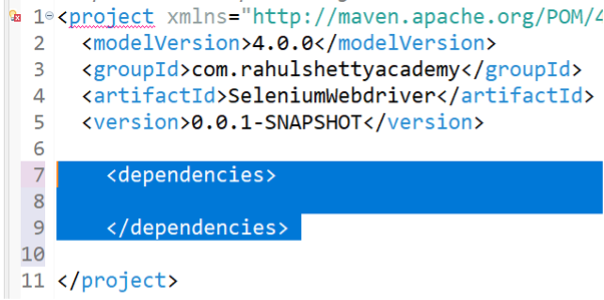
Let us open the pom.xml and add ‘dependencies’ tag
Launch https://mvnrepository.com/ and search ‘selenium’
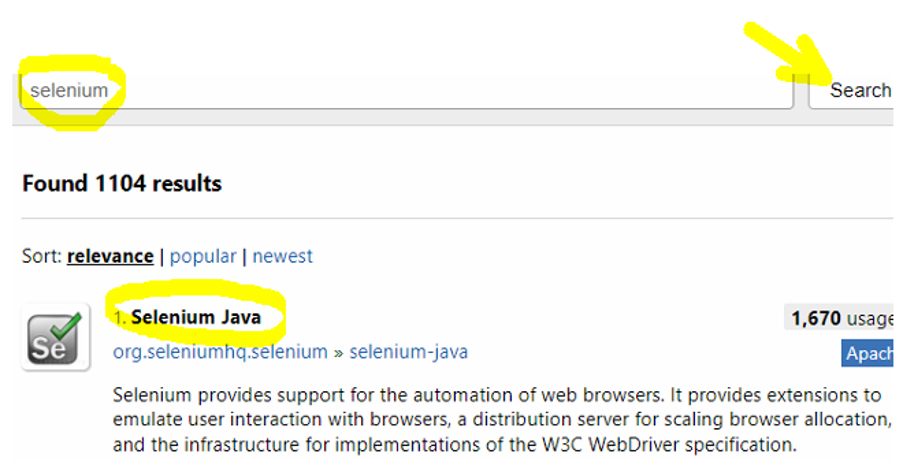
Since we are interested in ‘selenium-java’ library, let us click ‘Selenium Java’ link.
The latest stable version shown below is 4.13.0

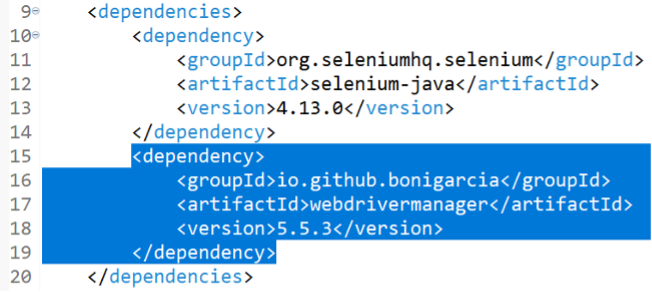
Copy the dependency and paste it in pom.xml dependencies


Save the xml to automatically download all the selenium dependencies into our project.
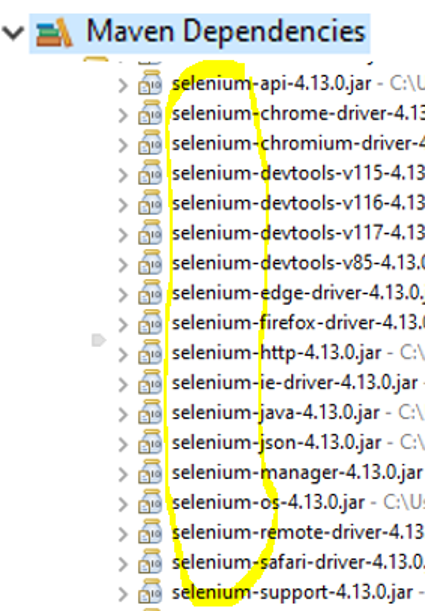
Once save operation is completed, ‘Maven Dependencies’ folder gets created automatically
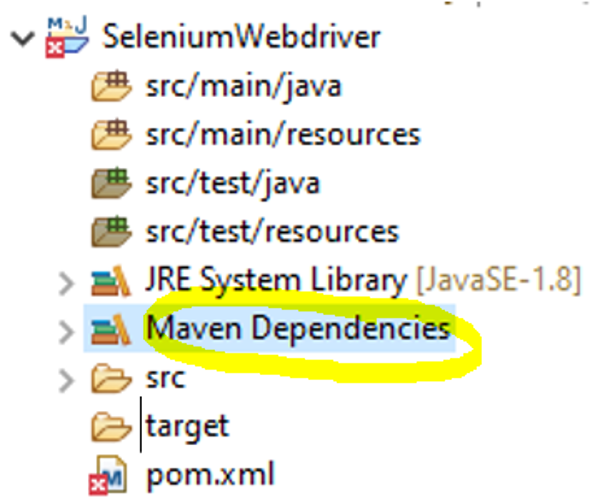
This folder contains all the Selenium jars as shown below
You might see 2 errors in the xml file (see errors on line#1 and 3)

To remove these errors, simply change https to http in line#3. The error gets removed automatically. Save the xml once more


Give knowledge of ‘WebdriverManager’ dependency to manage different browser types
By adding WebdriverManager dependency, we can execute our selenium tests on different browser types (viz chrome, firefox etc….). Thus the advantage is, we do not have to download the different browsers’ executables manually.
Let us again go to maven repository https://mvnrepository.com/search?q=WebdriverManager
Ensure that you take the below library from io.github

Write and execute Selenium test
Let us now create and execute a Selenium test to launch a website
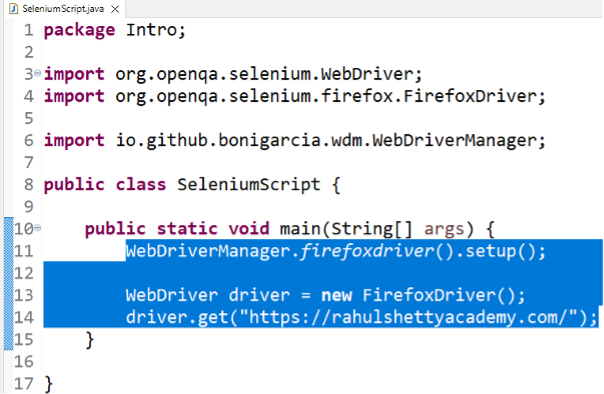
Notice above that with the help of WebdriverManager, we are able to setup firefox browser very easily.
Run the code to launch the website on a firefox browser
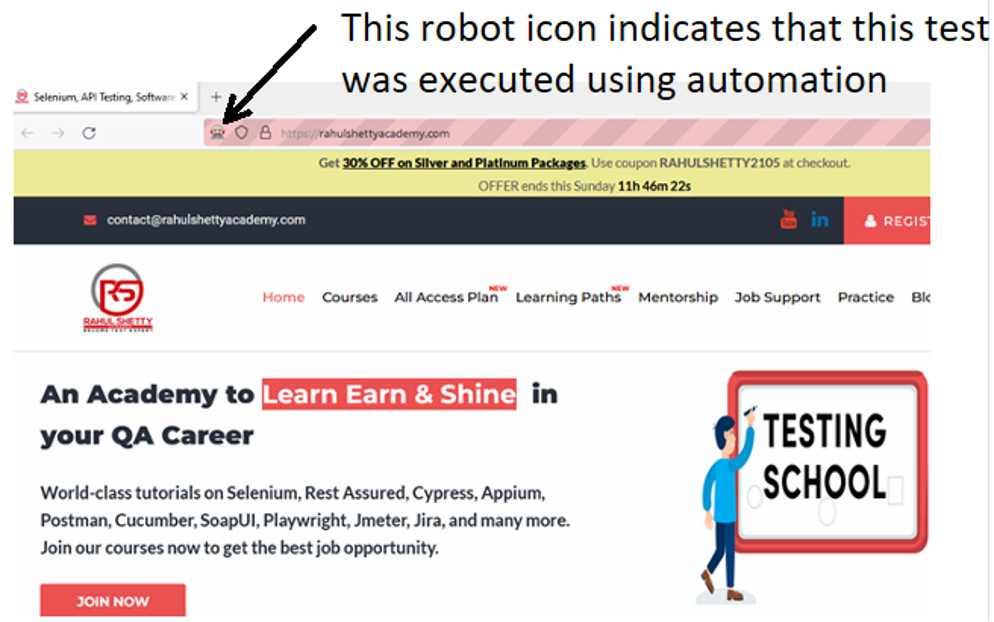
So we have successfully setup selenium in our eclipse IDE.
Thank you for reading!
